DIY. Simple Bracelet.
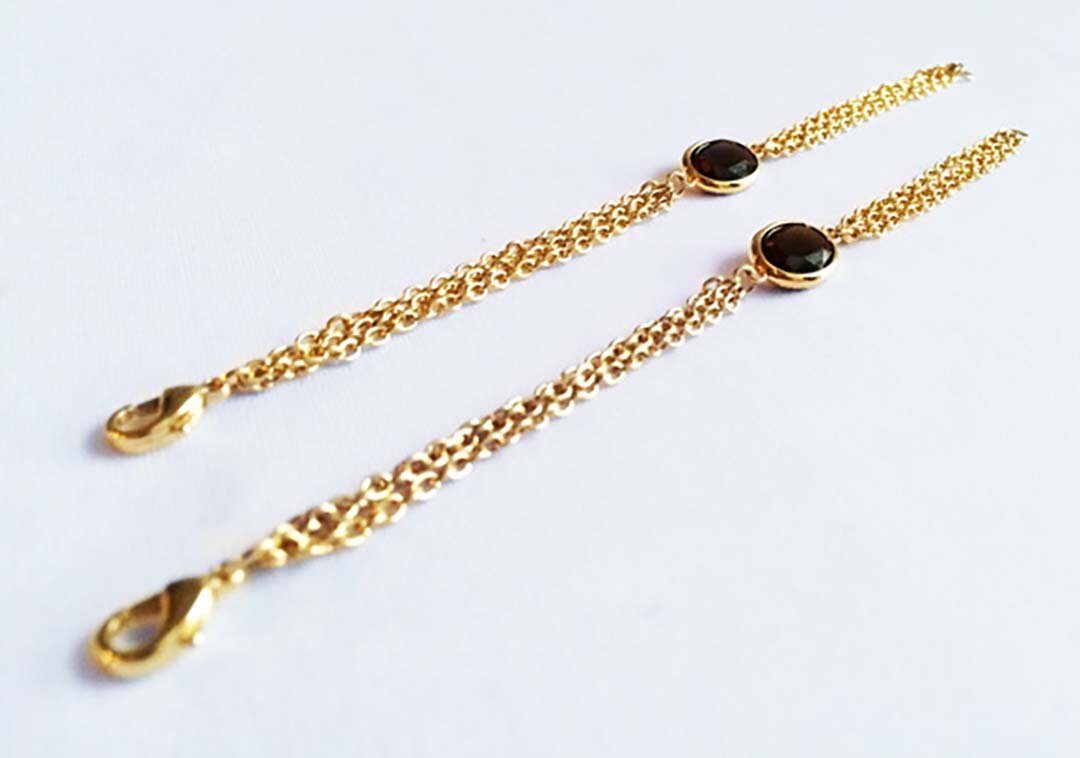
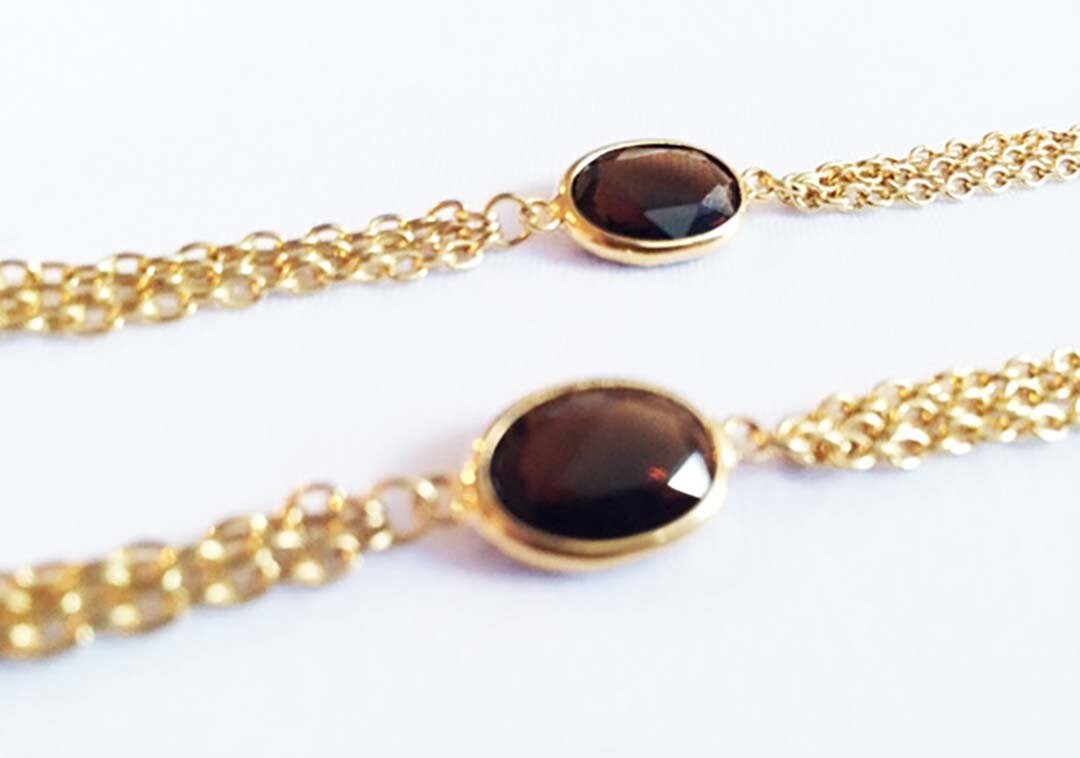
 I love creating things. When I was very young my mother spent a lot of time creating her own jewelry- I would watch in awe as she would use beautiful beads and wire and tiny little pliers to create something lovely. She slowly stopped jewelry making- but she moved on to other hobbies (all of which included her creating something with her hands). I spent all my childhood watching her create things and I loved it.I have been missing creating things with my hands- but I don't have the time to spend hours on a single project. I am a very focused person and I have a really really hard time putting a half completed project down (then I also have a really hard time picking it back up because I get super focused on something else). So I've started to look for fun and easy projects that I can quickly do in an evening after work and then a little bit longer projects that I do during a weekend.This simple and classic bracelet takes very little time. In fact - I can create a couple of them in less than thirty minutes! Piece of cake.
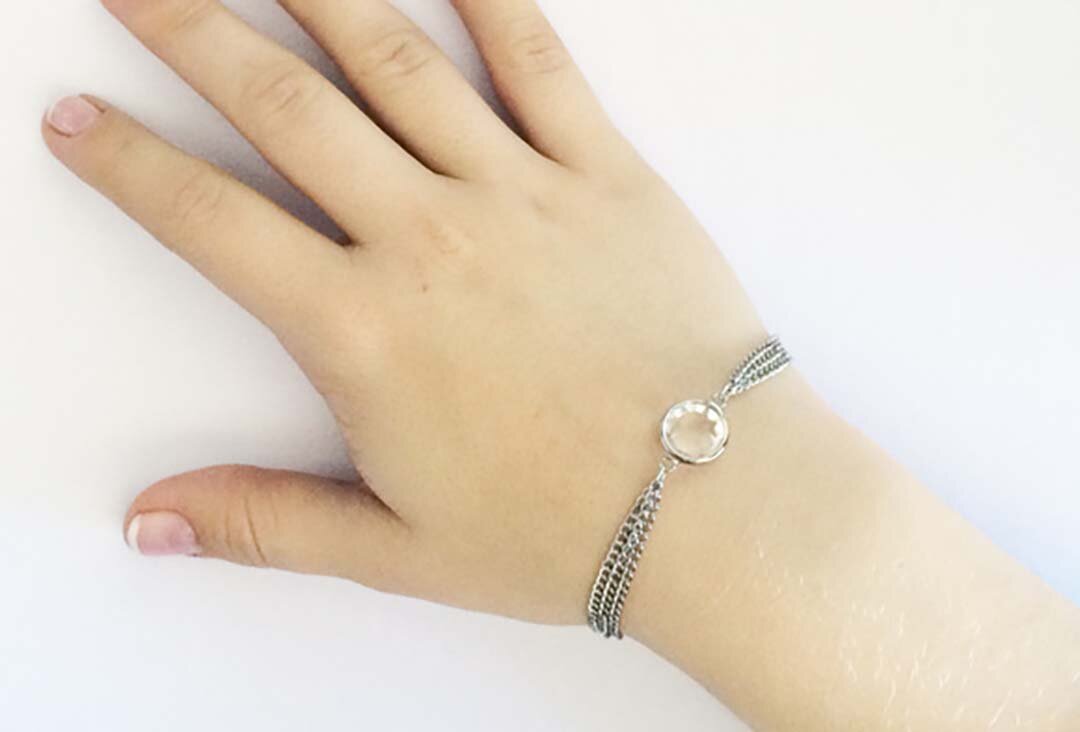

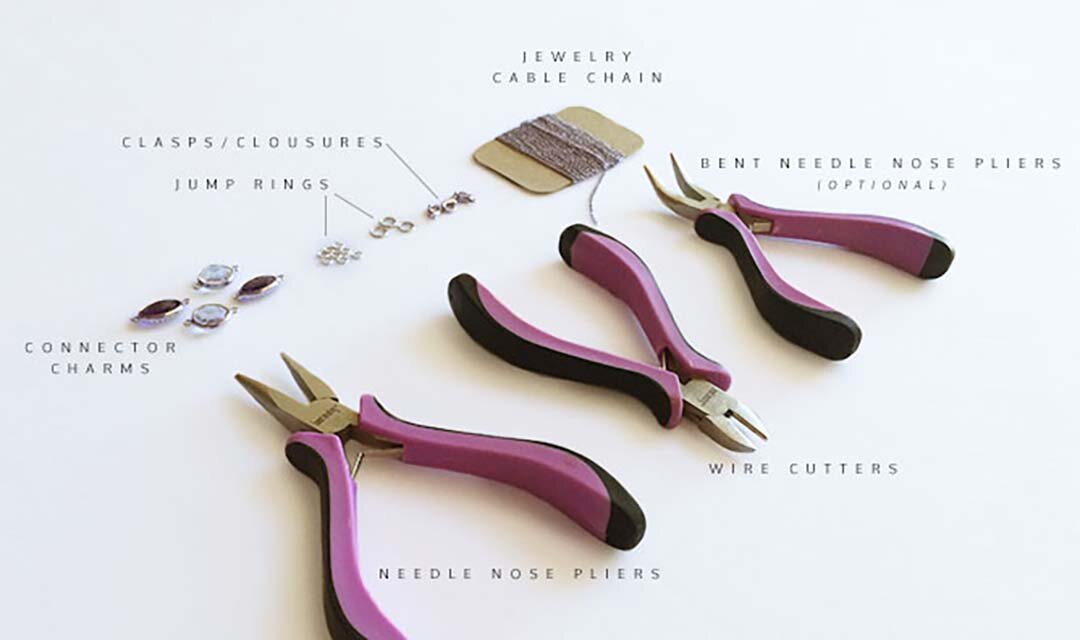
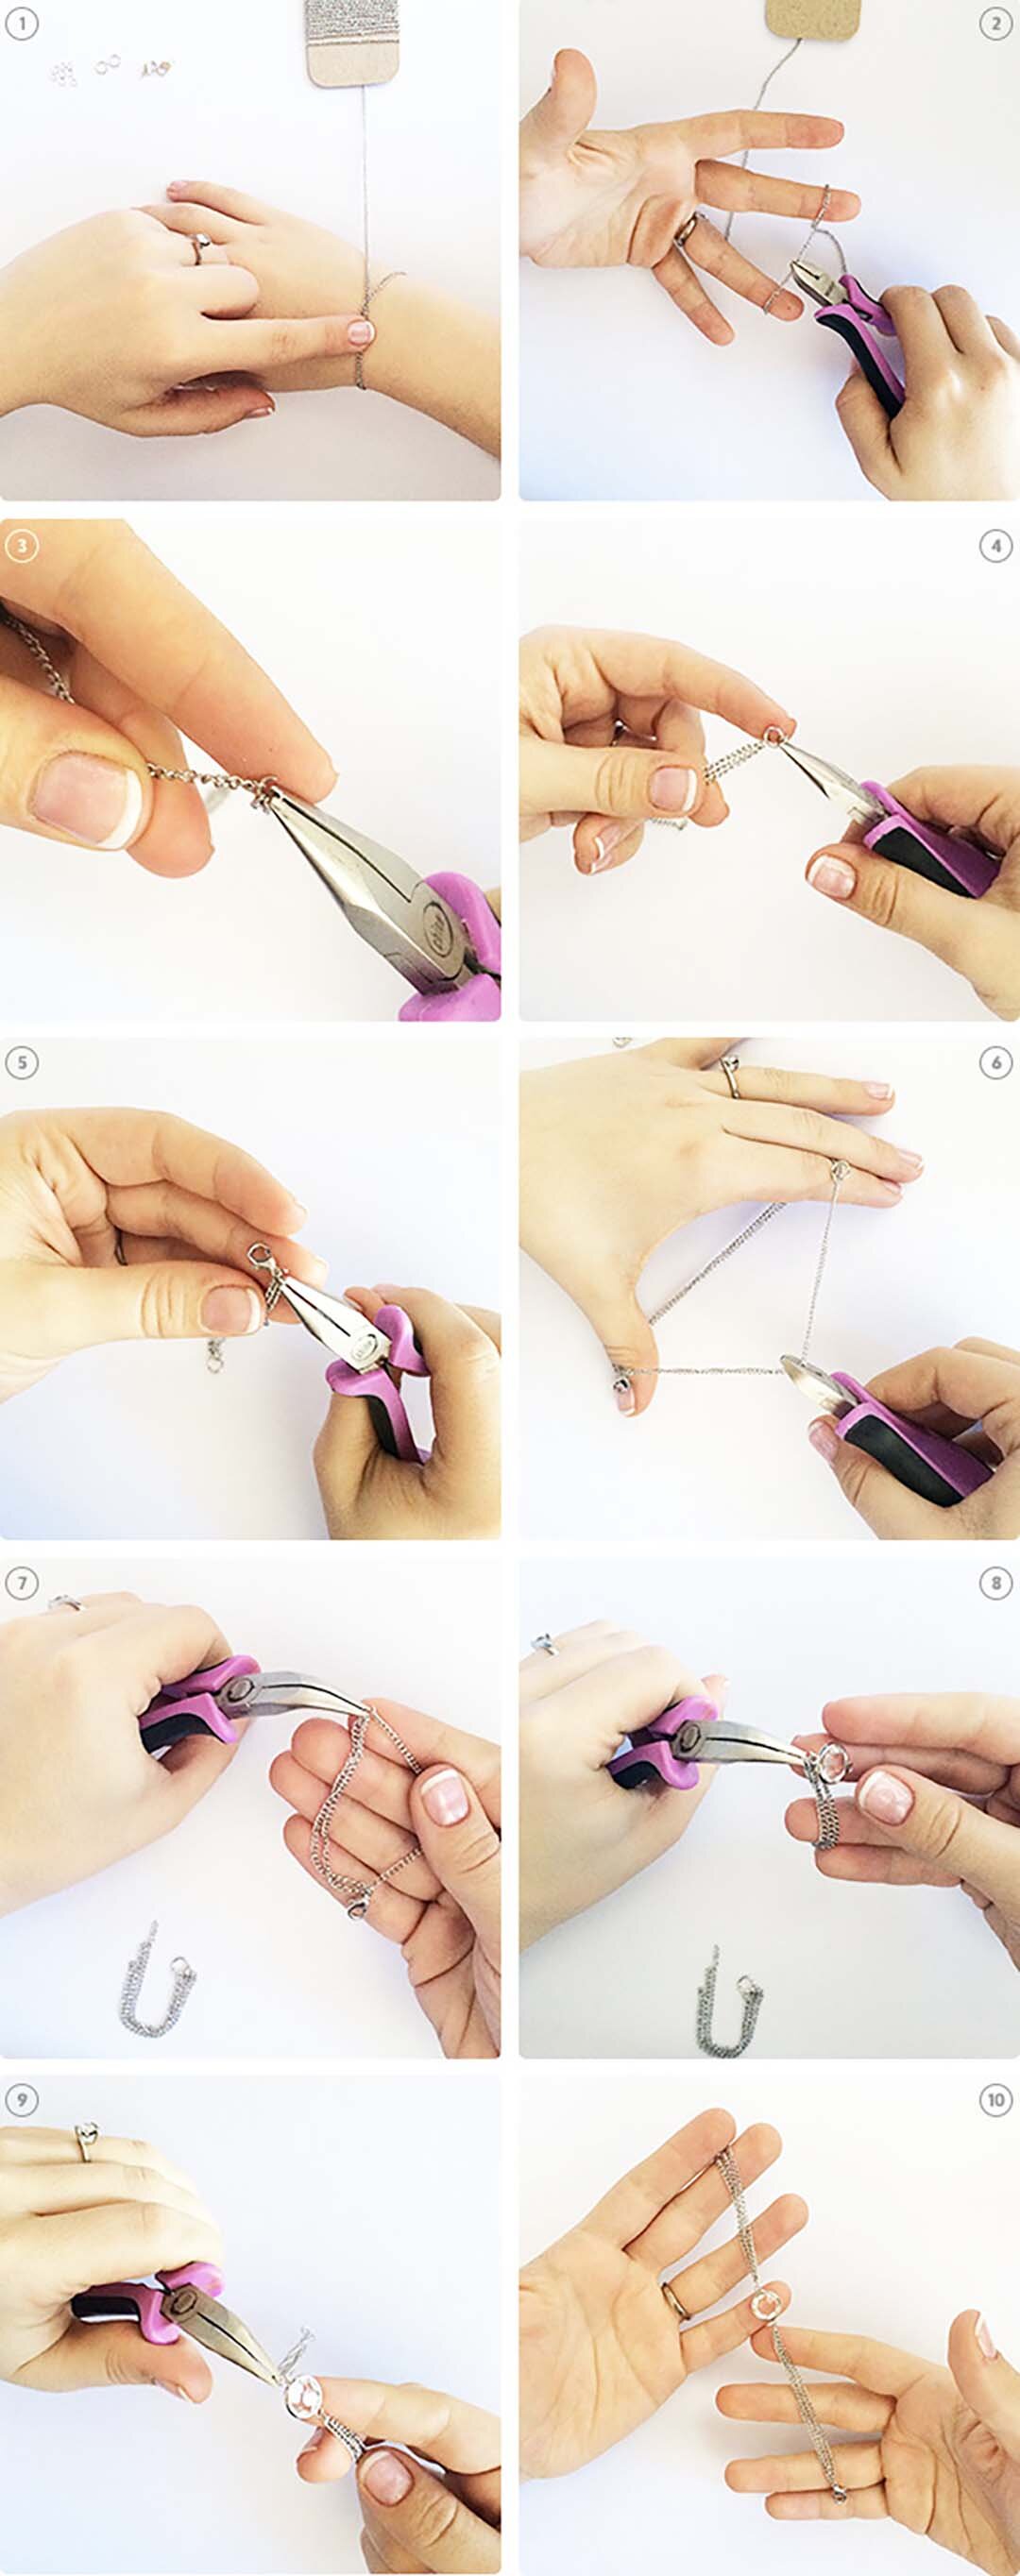
Q U I C K N O T E :connector charms are specific (and necessary for this project) - they have two loops on either side thus they are used to connect chains/charms/etc. together. they are not too hard to find in the jewelry section of your craft store.bent needle nose pliers are completely optional - i use them to hold on to the tiny jump rings while I'm opening/closing them with the needle nose pliers.